There’s a moment on every extended adventure—usually around day five—when the novelty of eating out starts to fade. The restaurant tabs are adding up, you’re craving something simple, and suddenly that gas station sandwich is looking a little too appealing. After eight years of two-week adventures across mountains, coastlines, and everything in between, we’ve learned that food can make or break a trip. Not just nutritionally, but financially and emotionally too.
The thing is, a two-week adventure can get expensive when it comes to food. Eating out every night gets old pretty quickly—both on your taste buds and your wallet. But here’s the good news: with a little planning and the right approach, you can eat incredibly well, save hundreds of dollars, and still leave room for those memorable restaurant meals that become part of the adventure story.
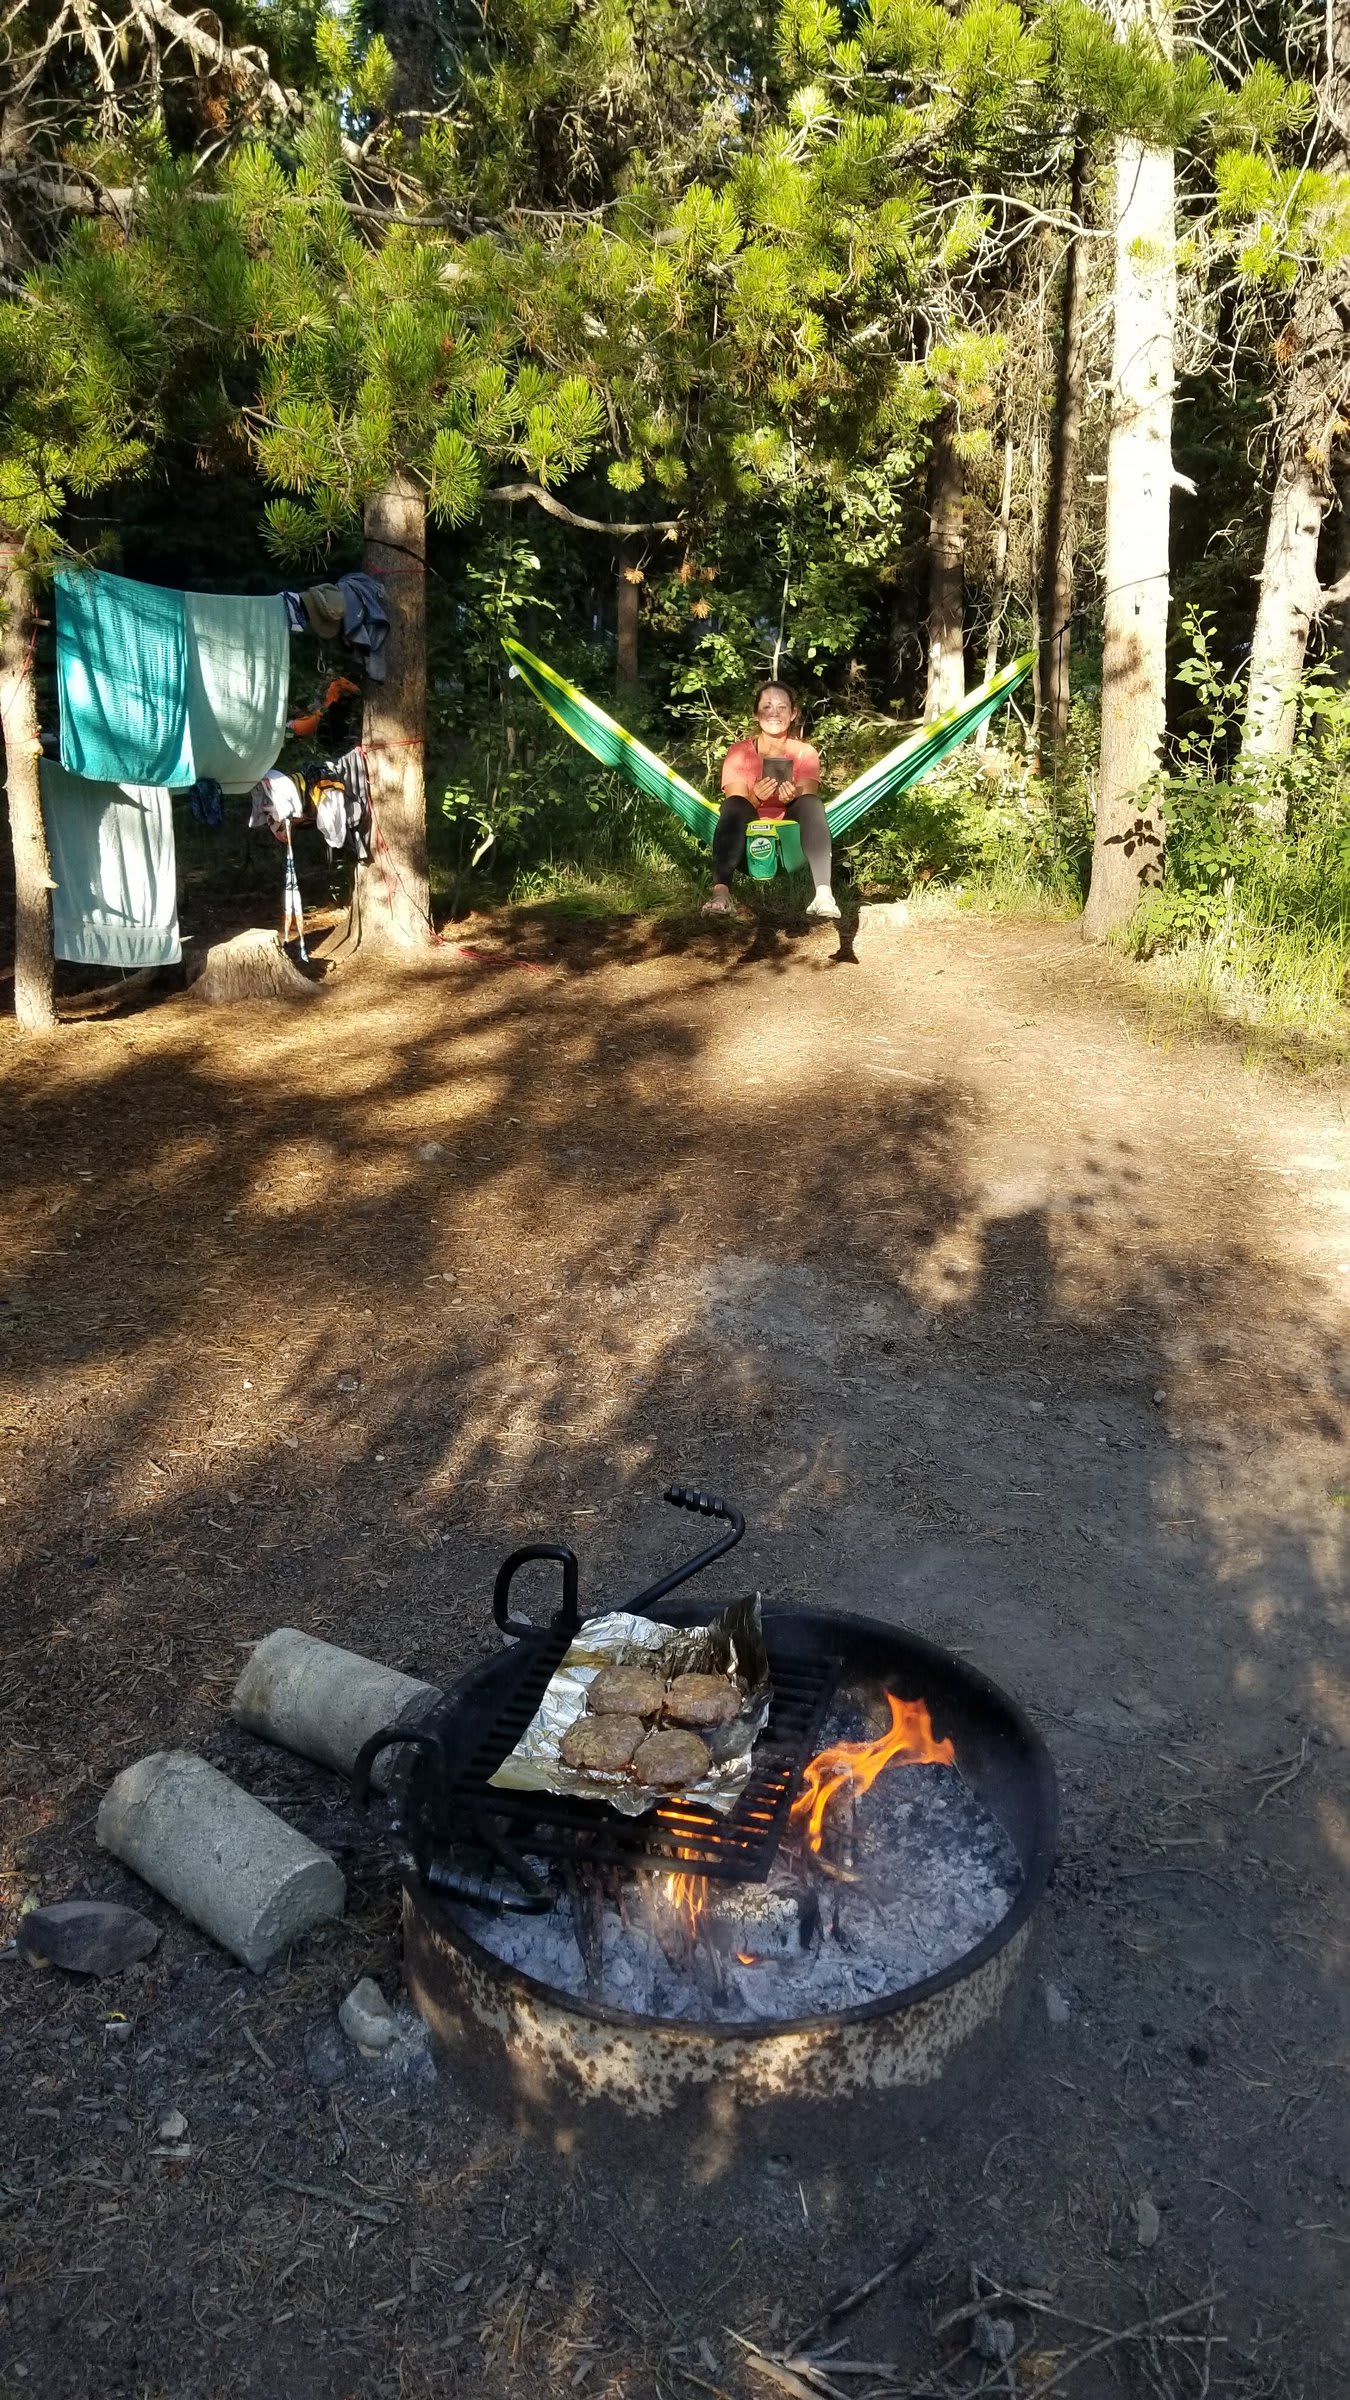
Whether we’re car camping with a cooler full of ingredients, backpacking with everything on our backs, or enjoying the relative luxury of an Airbnb or camper van, these principles have served us well. Let me share what we’ve learned.
The Three Core Meal Principles
Over the years, we’ve boiled down our food philosophy to three simple rules that guide every trip:
1. Breakfast In
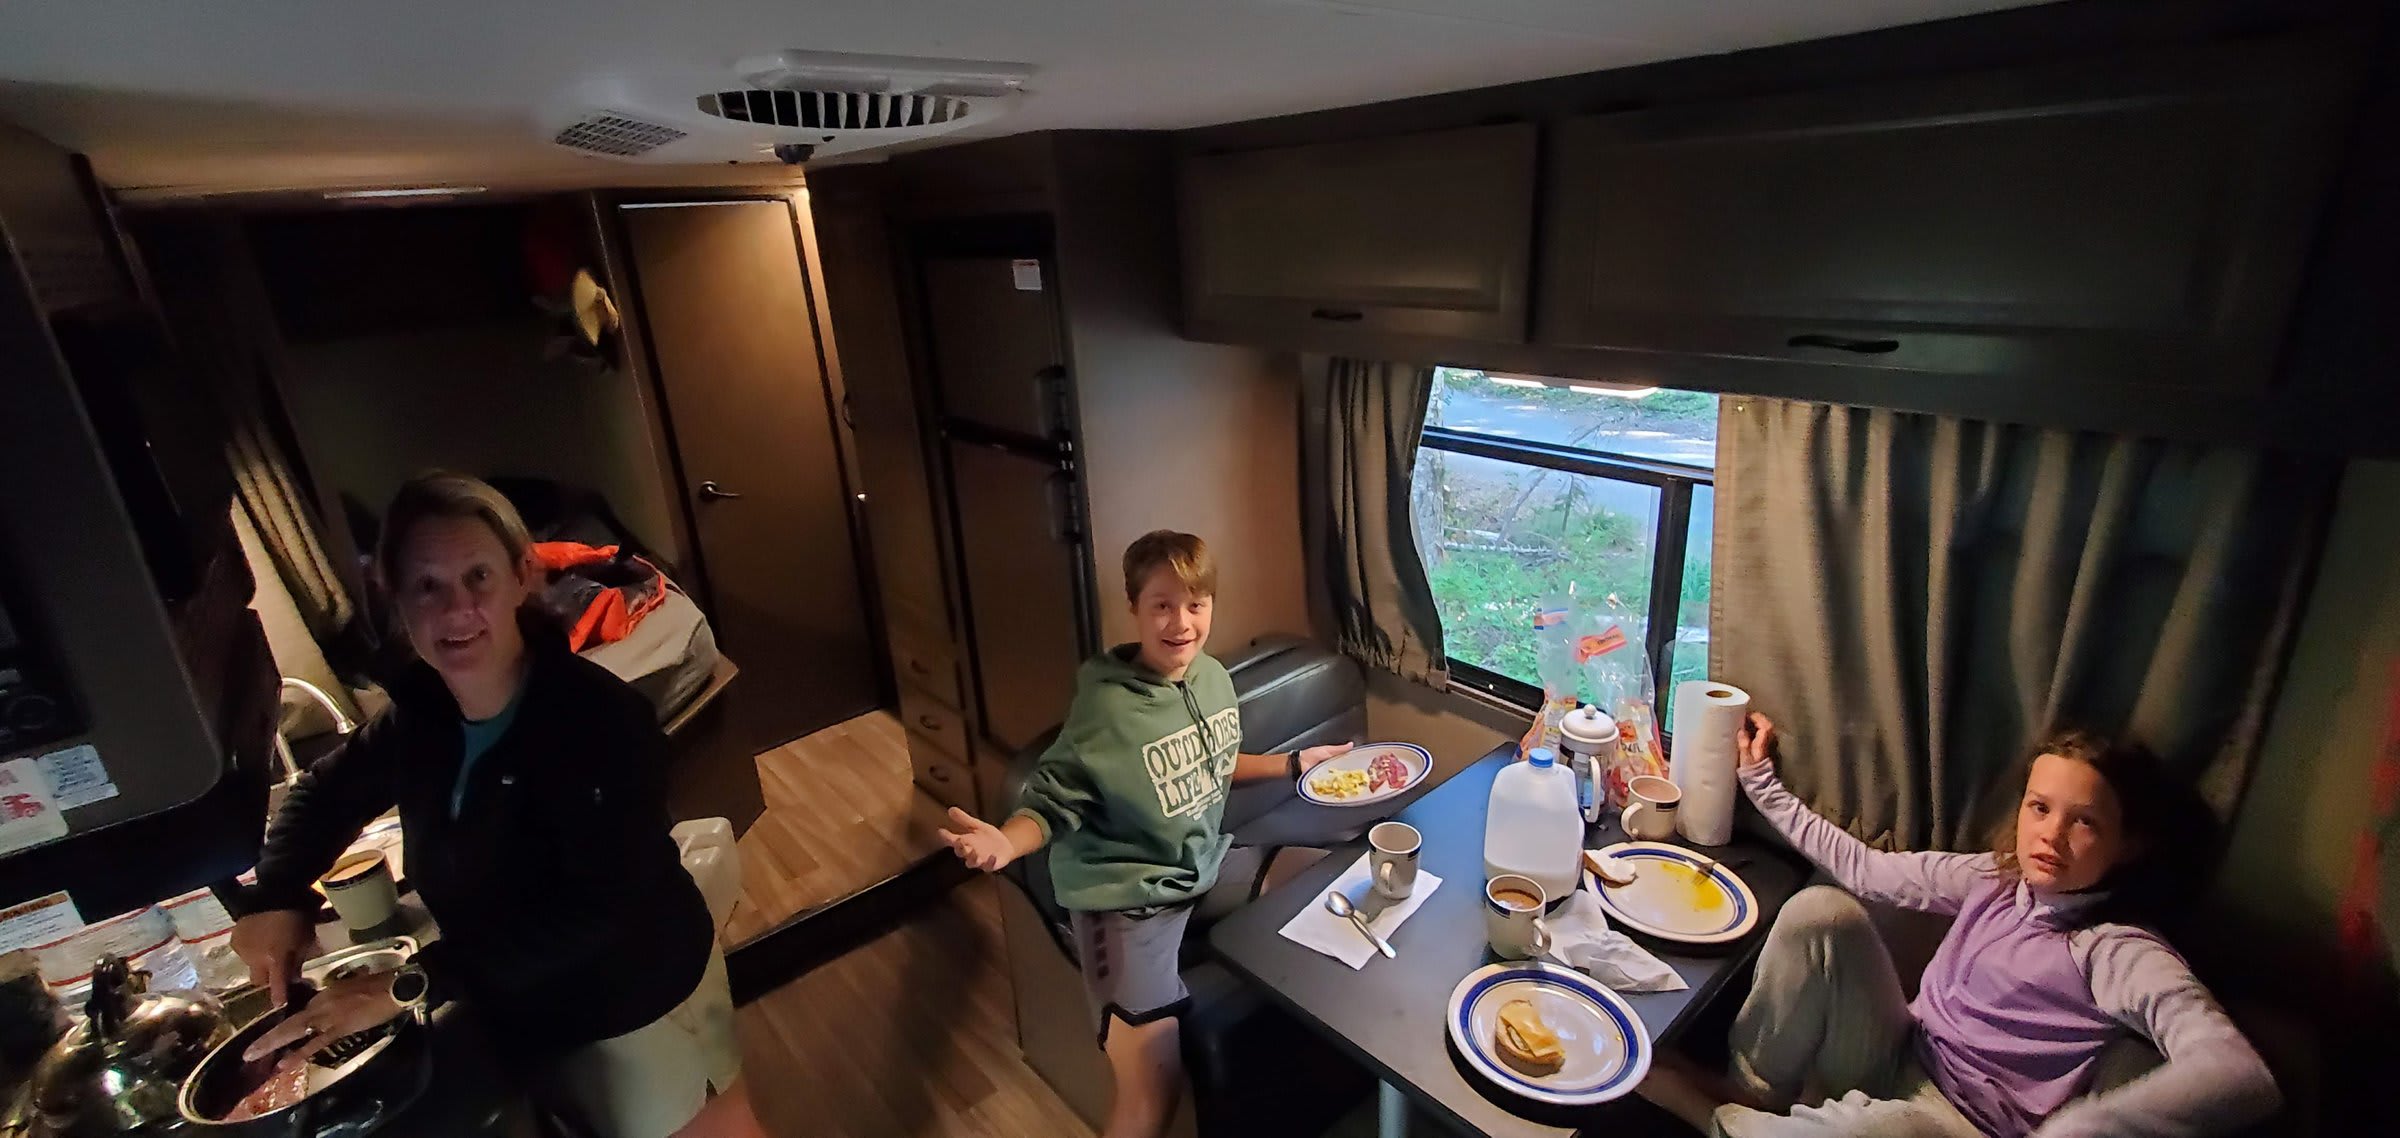
This is non-negotiable. Whether we’re waking up in a tent, a van, or a vacation rental, breakfast happens at “home.” There’s something wonderfully grounding about making your own morning meal—the smell of coffee brewing while the sun comes up over the mountains, the simplicity of oatmeal eaten with a view you’d pay hundreds for at a fancy resort. Plus, restaurant breakfasts are often the worst value for your money. You’re paying $15-20 for eggs and toast that cost $2 to make yourself.
2. One Meal Out Per Day (Maximum)
Lunch or dinner out—not both. This is where the real savings happen. When you’re on a two-week trip, eating both lunch and dinner at restaurants means 28 meals out. At even a modest $20 per person, that’s $560 per person, or over $1,100 for a couple. Cut that in half, and you’ve just saved enough for another adventure. The exception, of course, is backpacking—when you’re miles from civilization, there’s no choice but to eat what you carry.
3. Meal Plan and Shop to Optimize
This one we learned the hard way. Our most recent trip, we got lazy. Towns were easy to access, grocery stores were plentiful, and we figured we’d just wing it. Bad idea. Without a plan, we bought ingredients that didn’t work together, wasted food that went bad, and spent way more than necessary on last-minute purchases. Planning lets you buy ingredients that pull double or triple duty across multiple meals.
The Art of Camp Cooking: Breakfast Edition
Breakfast at camp is one of life’s simple pleasures. The options vary depending on your setup and your schedule, but here are our go-to favorites:
Bagels and Cream Cheese
The ultimate no-cook breakfast. Bagels are sturdy (they won’t get crushed in your pack or cooler), they’re filling, and cream cheese keeps well for several days even in imperfect cooler conditions. We’ll often add some smoked salmon when we’re feeling fancy.
Oatmeal
The workhorse of camp breakfasts. For quick mornings when we need to hit the trail early, instant oatmeal packets do the job. But when we have the luxury of a slower morning—maybe a rest day or a short hiking day—we’ll make proper steel-cut oats. Add some brown sugar, dried fruit, and nuts, and you’ve got a breakfast that’ll power you through miles.
Eggs and Bacon
When time isn’t a factor and we have proper cooking equipment, nothing beats the classics. The sizzle of bacon over a camp stove, the smell wafting through the morning air—it’s camping at its finest. This is usually reserved for our first morning or our rest days.
Cereal and Milk
Sometimes you just want something cold and simple. We’ll pack a box of granola or our favorite cereal and pour cold milk from the cooler. It’s the breakfast equivalent of comfort food.
Yogurt
Greek yogurt with some granola on top is quick, protein-packed, and refreshing. It keeps well in a good cooler and requires zero prep.
For backpacking, the calculus changes entirely. Weight is everything, so it’s oatmeal or dehydrated meals—always. There’s no room for negotiation when you’re carrying your kitchen on your back.
Lunch on the Trail
Lunch is often the most flexible meal of the day. When we’re out exploring, we don’t want to be tied to returning to camp or finding a restaurant. Here’s how we handle midday fuel:
Dehydrated Bag Meals
There’s something magical about hiking to a scenic overlook, pulling out the JetBoil, and having a hot meal with a million-dollar view. These freeze-dried meals have come a long way—some are genuinely delicious now. They’re lightweight, they pack down small, and all you need is boiling water. Perfect for summit lunches or long day hikes.
Sandwiches
The classic trail lunch. We’ll prep these in the morning before heading out. PB&J never fails, but if we have deli meat in the cooler, we’ll go for something heartier. The key is using bread that won’t fall apart after a few hours in a pack.
Heavy Snackage
Sometimes lunch isn’t a meal at all—it’s a sustained grazing session. Trail mix, cheese and crackers, dried fruit, jerky, energy bars, apple slices with peanut butter… we’ll pack a whole spread and munch throughout the day. This works especially well on days with lots of activity.
Dinner: Where Camp Cooking Shines
Dinner is where we get creative. After a day of adventure, there’s nothing better than cooking a real meal together. Here are our favorites:
Mountain Pies
If you’re car camping and you haven’t tried mountain pies, you’re missing out. These cast iron pie irons let you create hot, sealed sandwiches over the fire. Load them up with pizza toppings, make a grilled cheese, or go sweet with pie filling and butter. They’re incredibly fun to make, everyone can customize their own, and cleanup is minimal. This has become one of our most-requested dinners. We use these cast iron pie irons and they’ve never let us down.
Fire-Cooked Classics
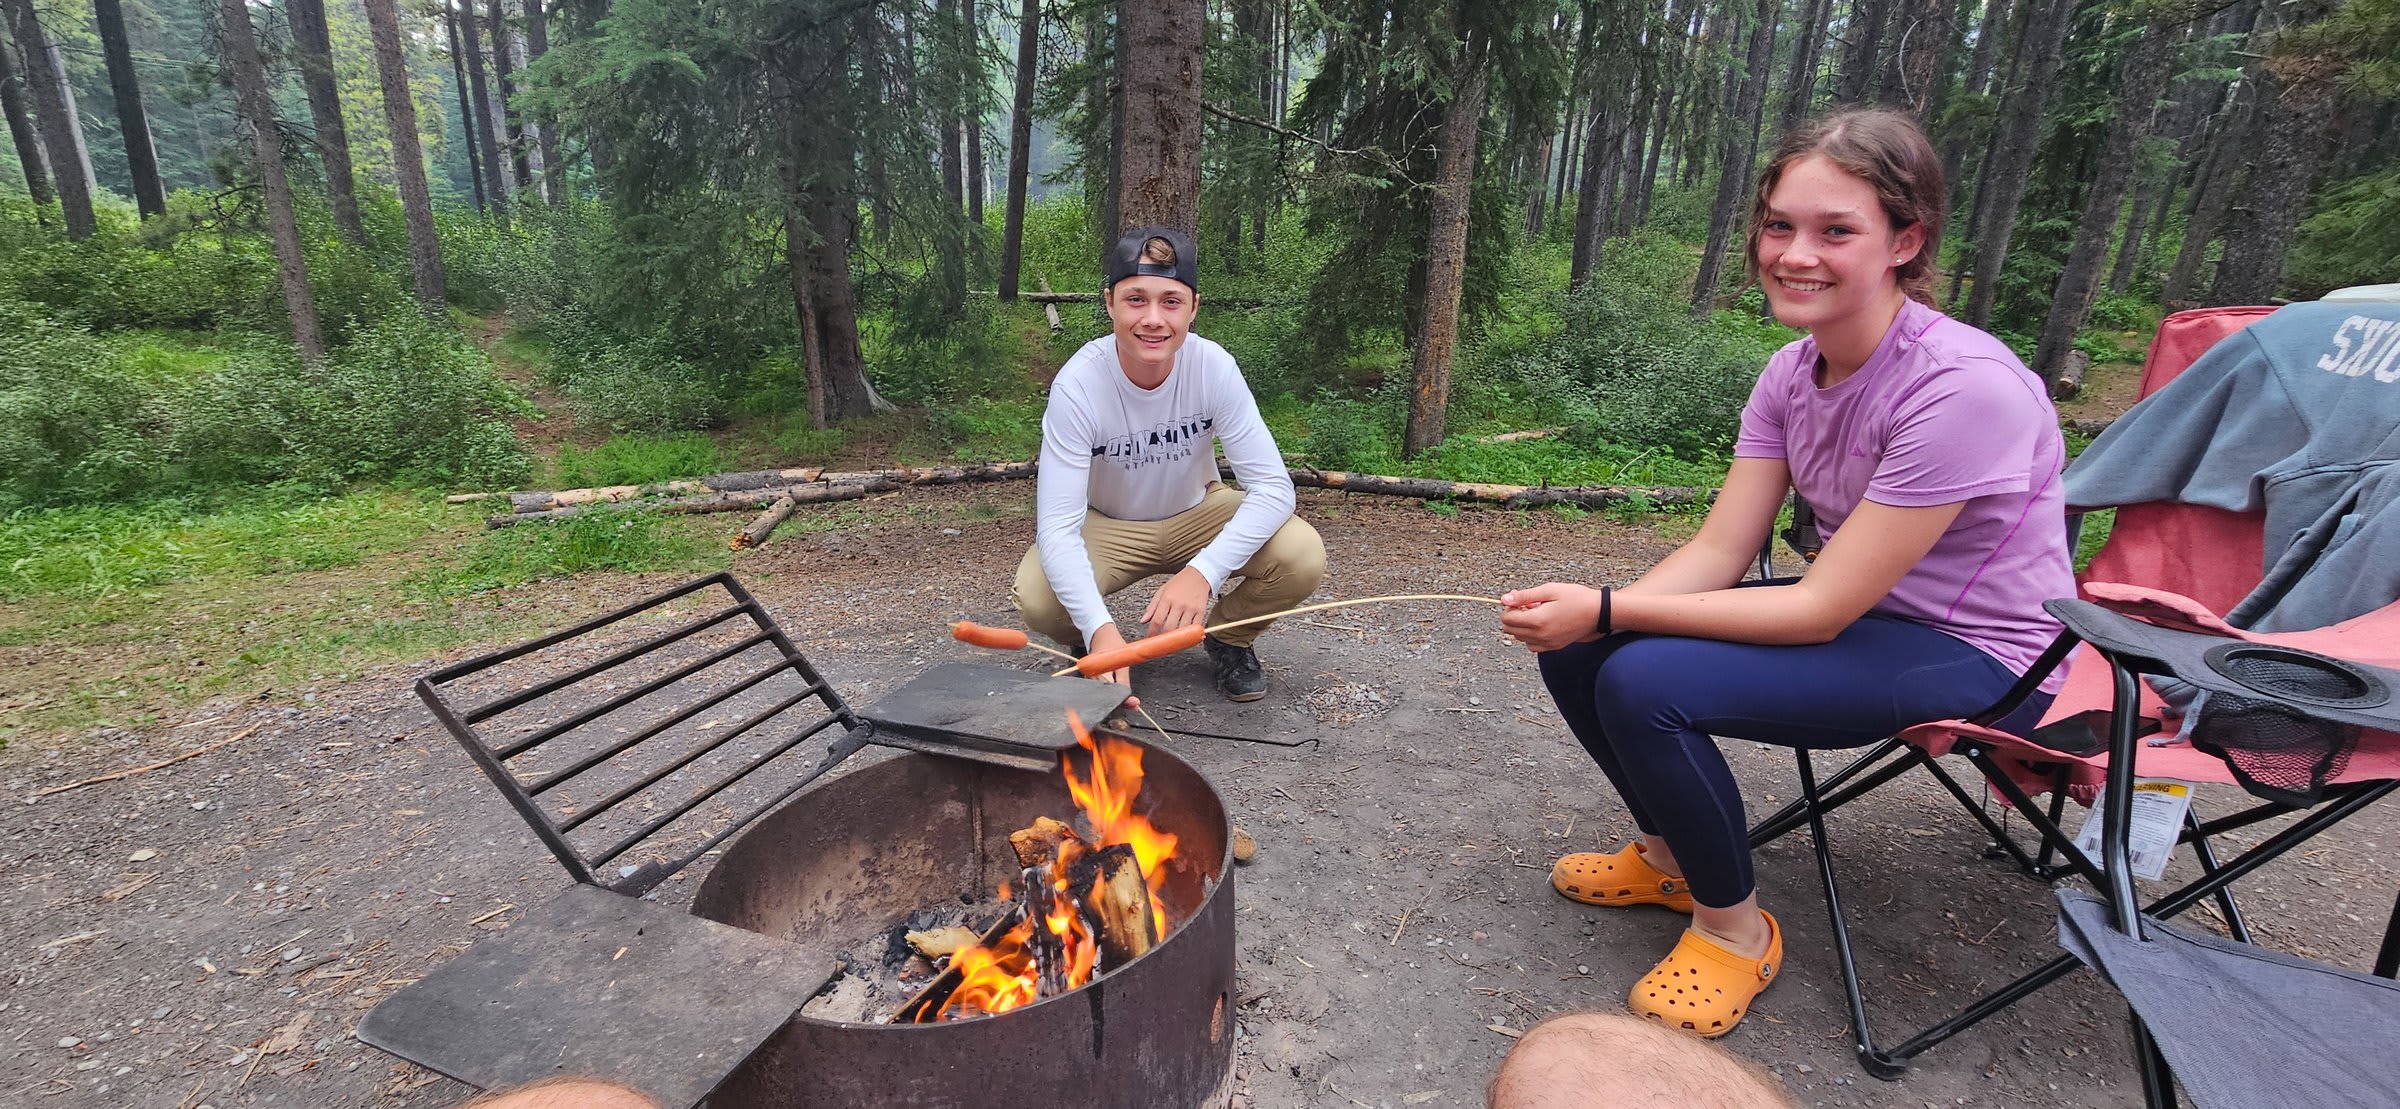
Hotdogs, burgers, and sausages over the campfire. Sometimes the simple things are the best things. There’s a primal satisfaction in cooking over open flames that no kitchen can replicate.
Campfire Foil Packets
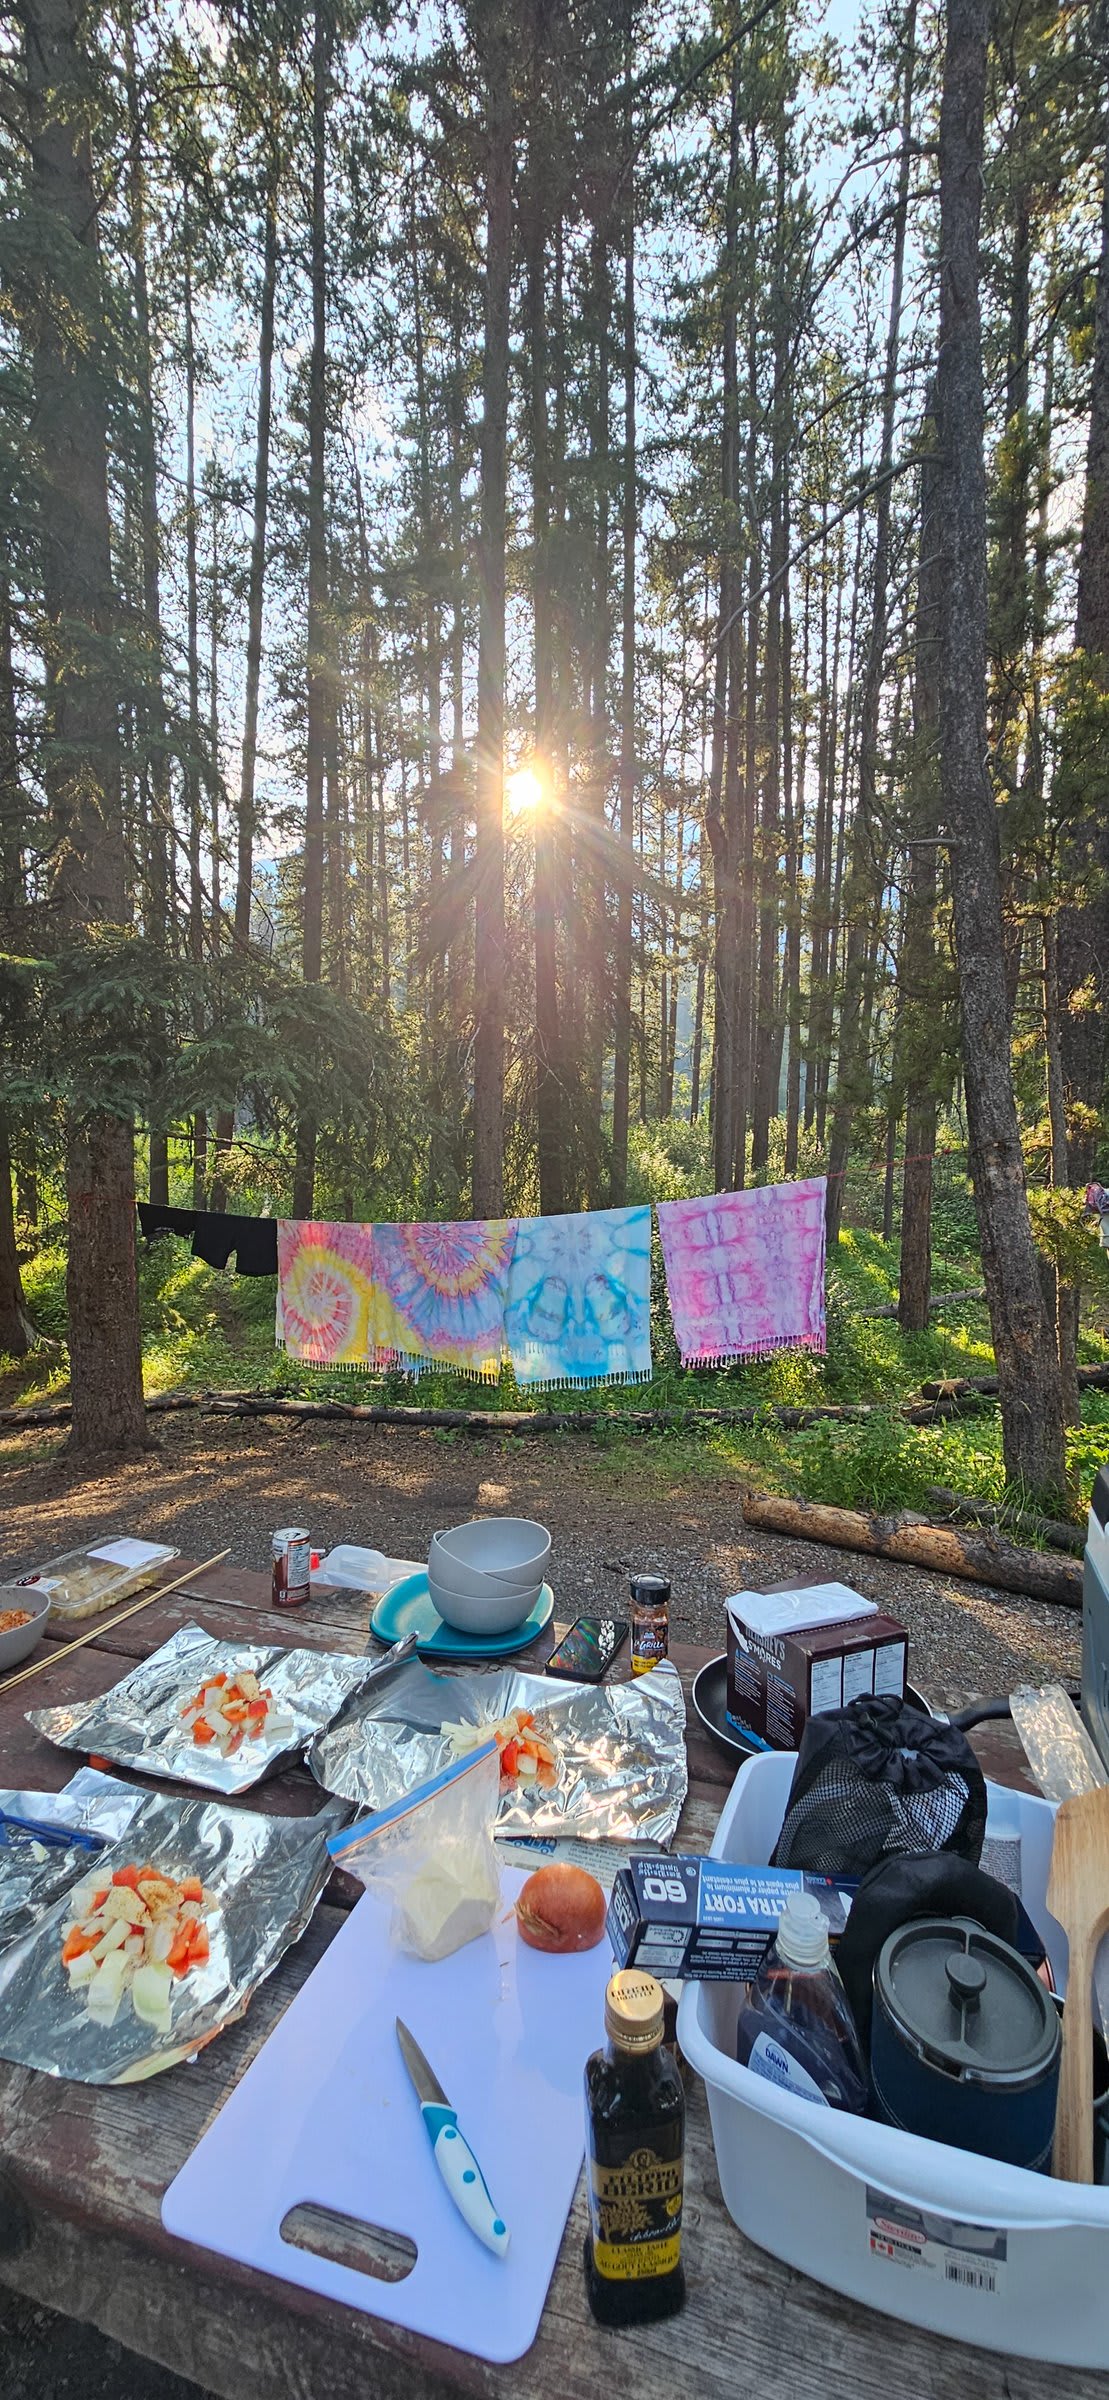
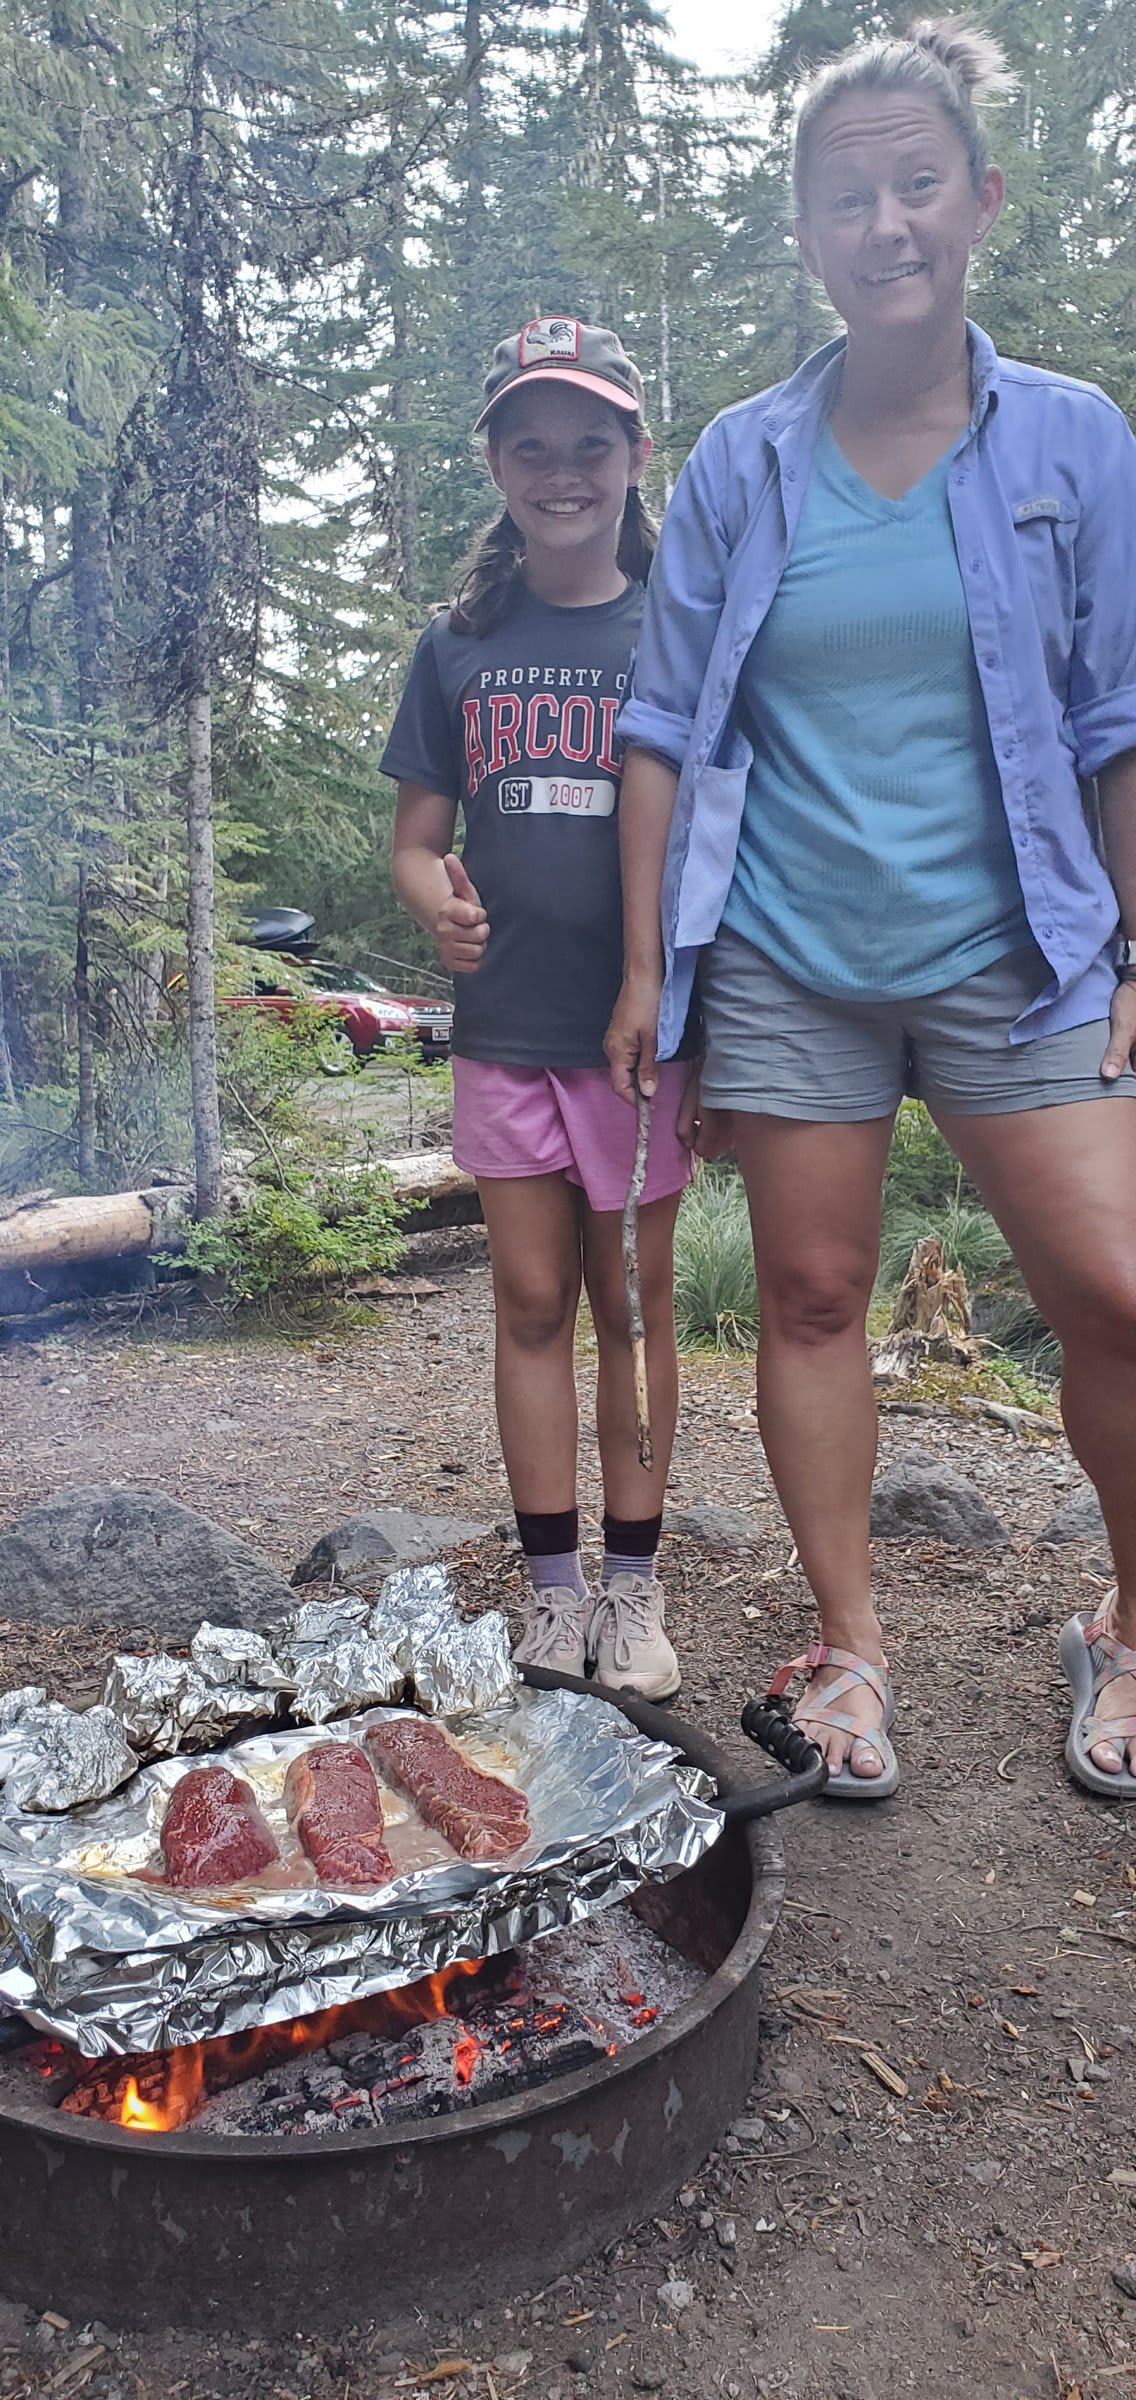
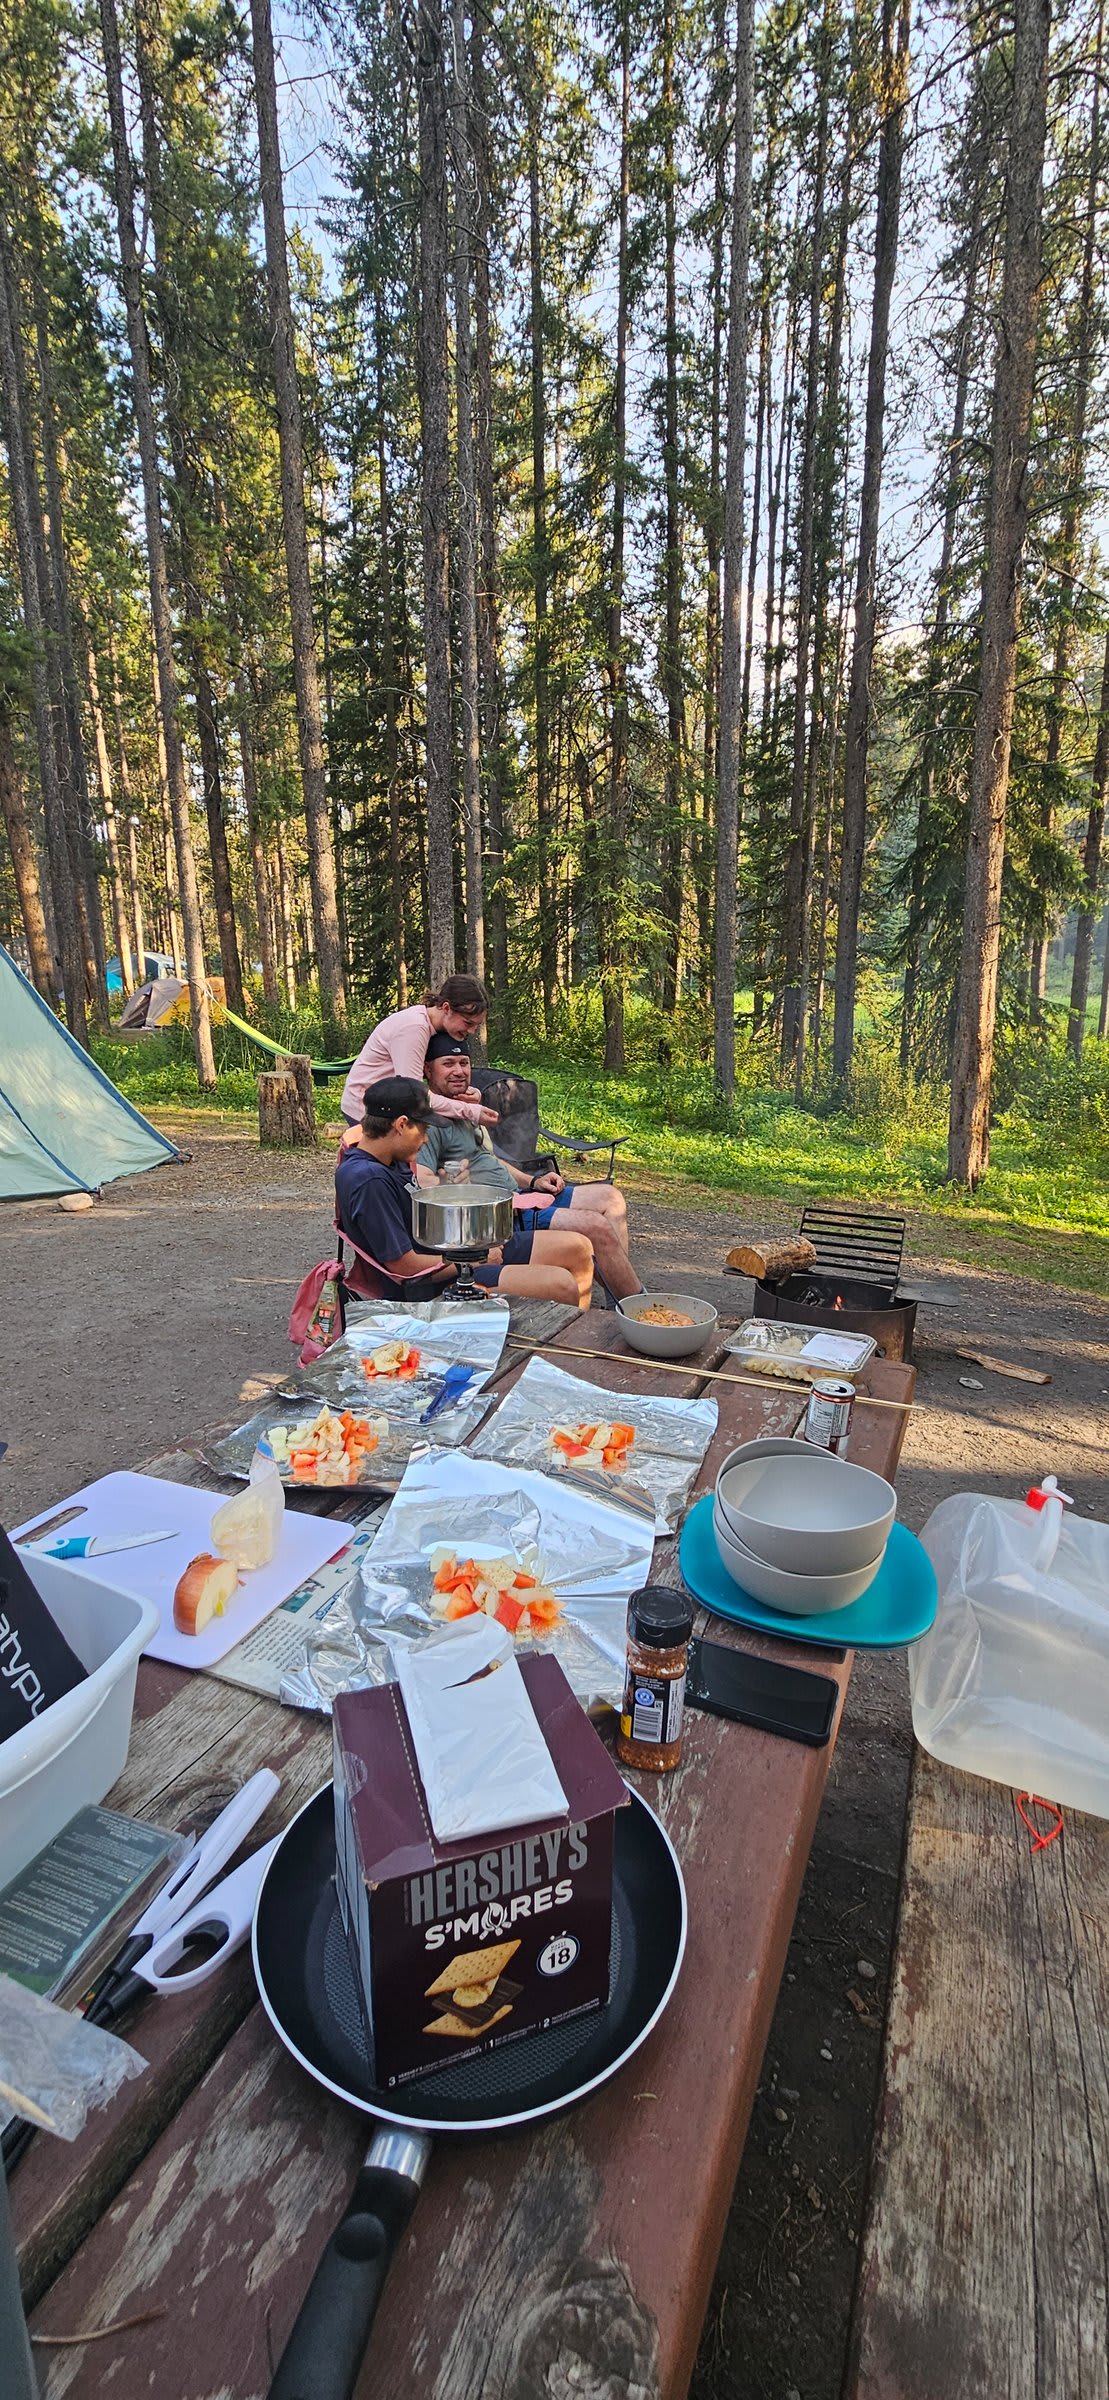
This is our go-to for easy, nutritious dinners with minimal cleanup. Load up heavy-duty foil with cubed potatoes, your choice of vegetables, and some protein—chicken, sausage, or even just seasoned ground beef. Seal them up, toss them on the grate, and let the fire do its work. Everything cooks together in its own juices, and when you’re done, you just ball up the foil and toss it. All-in-one meal, zero dishes.
Pre-Marinated Store Meats
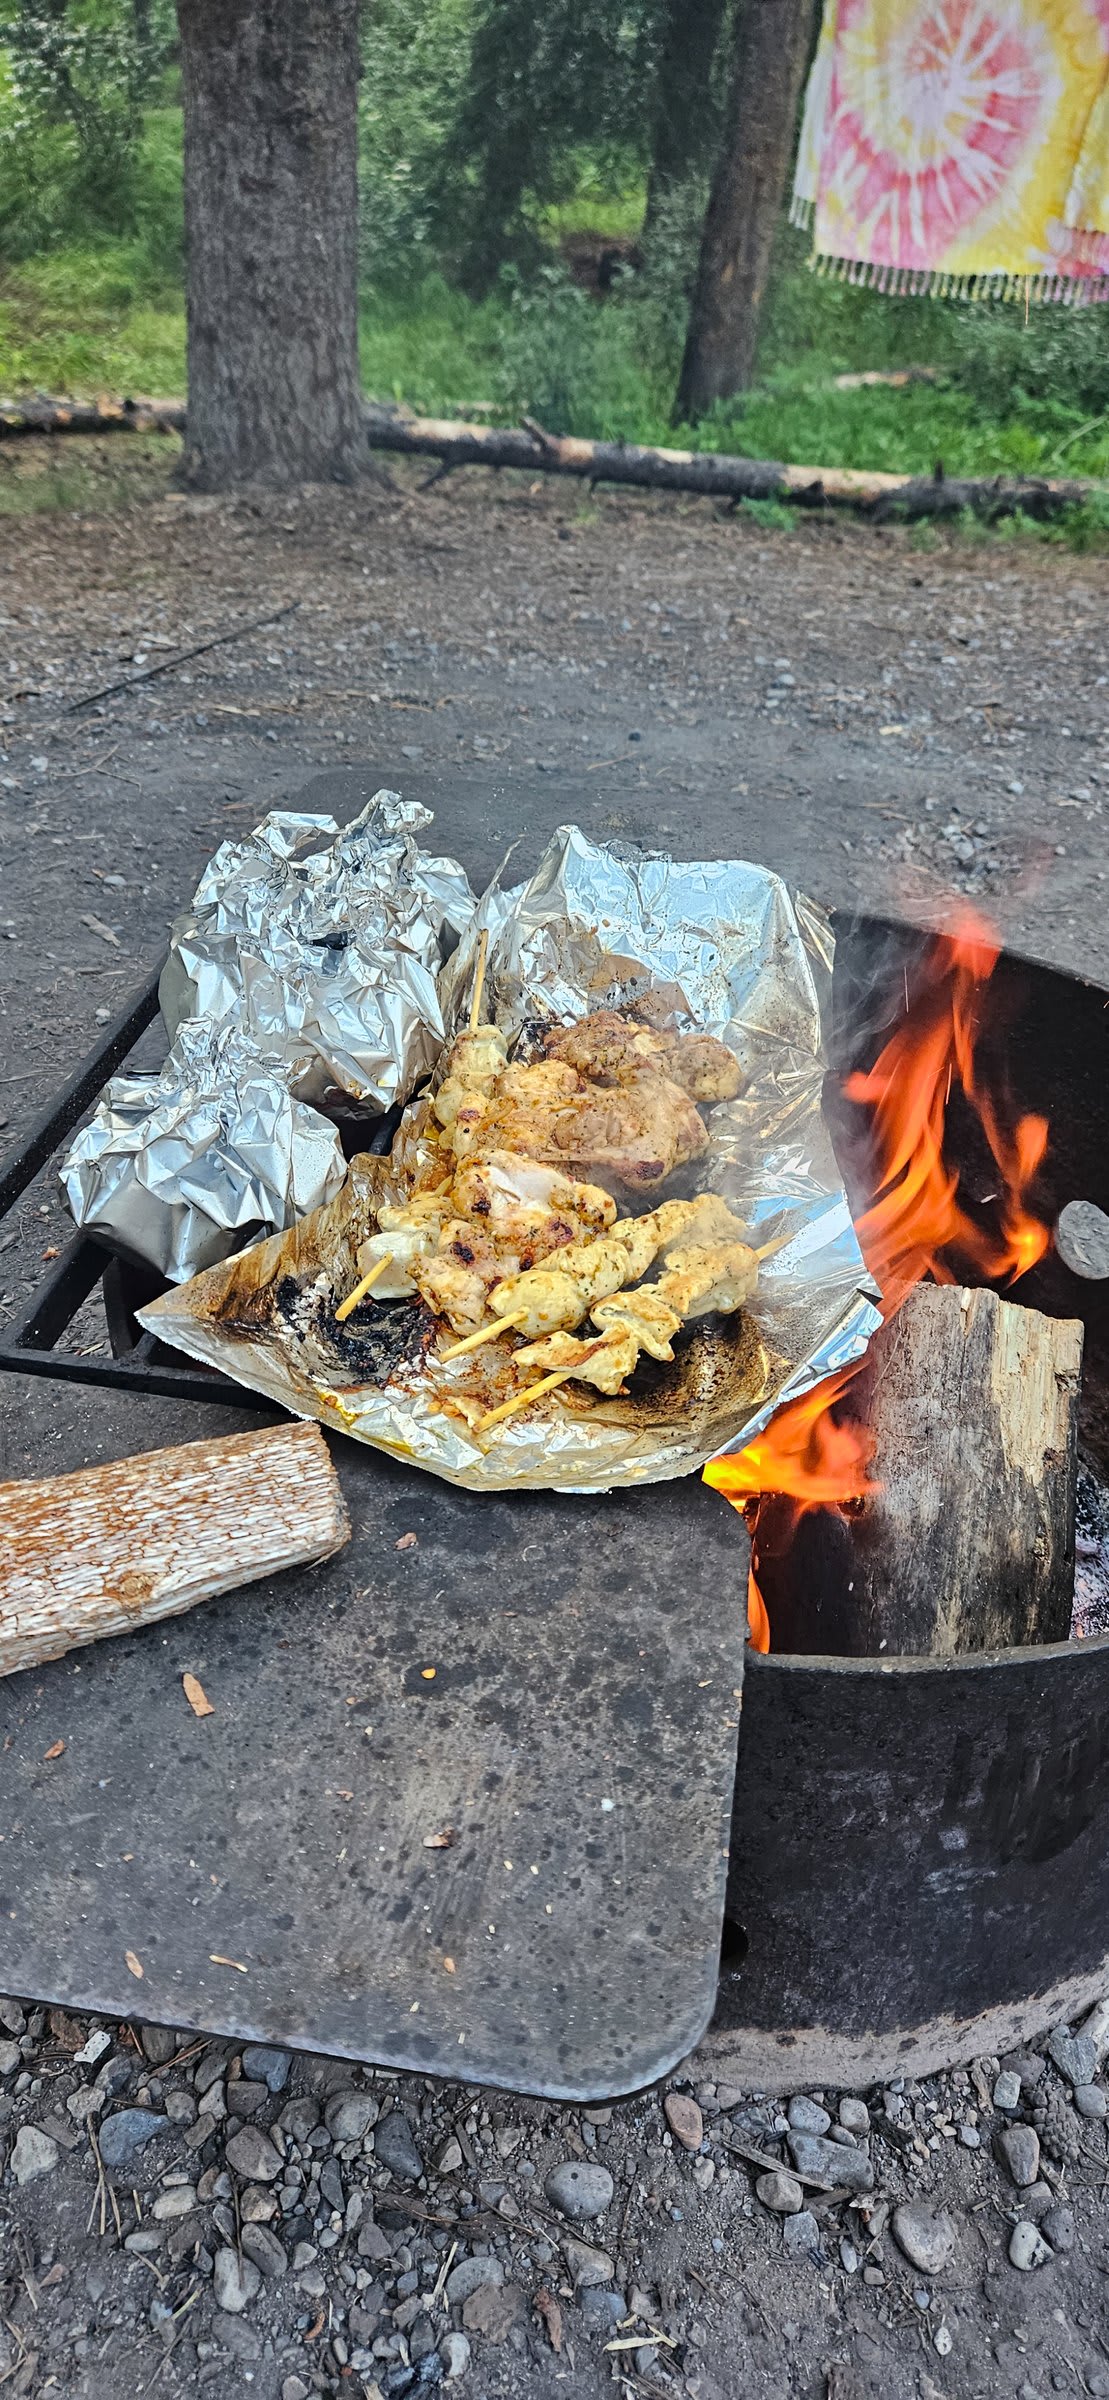
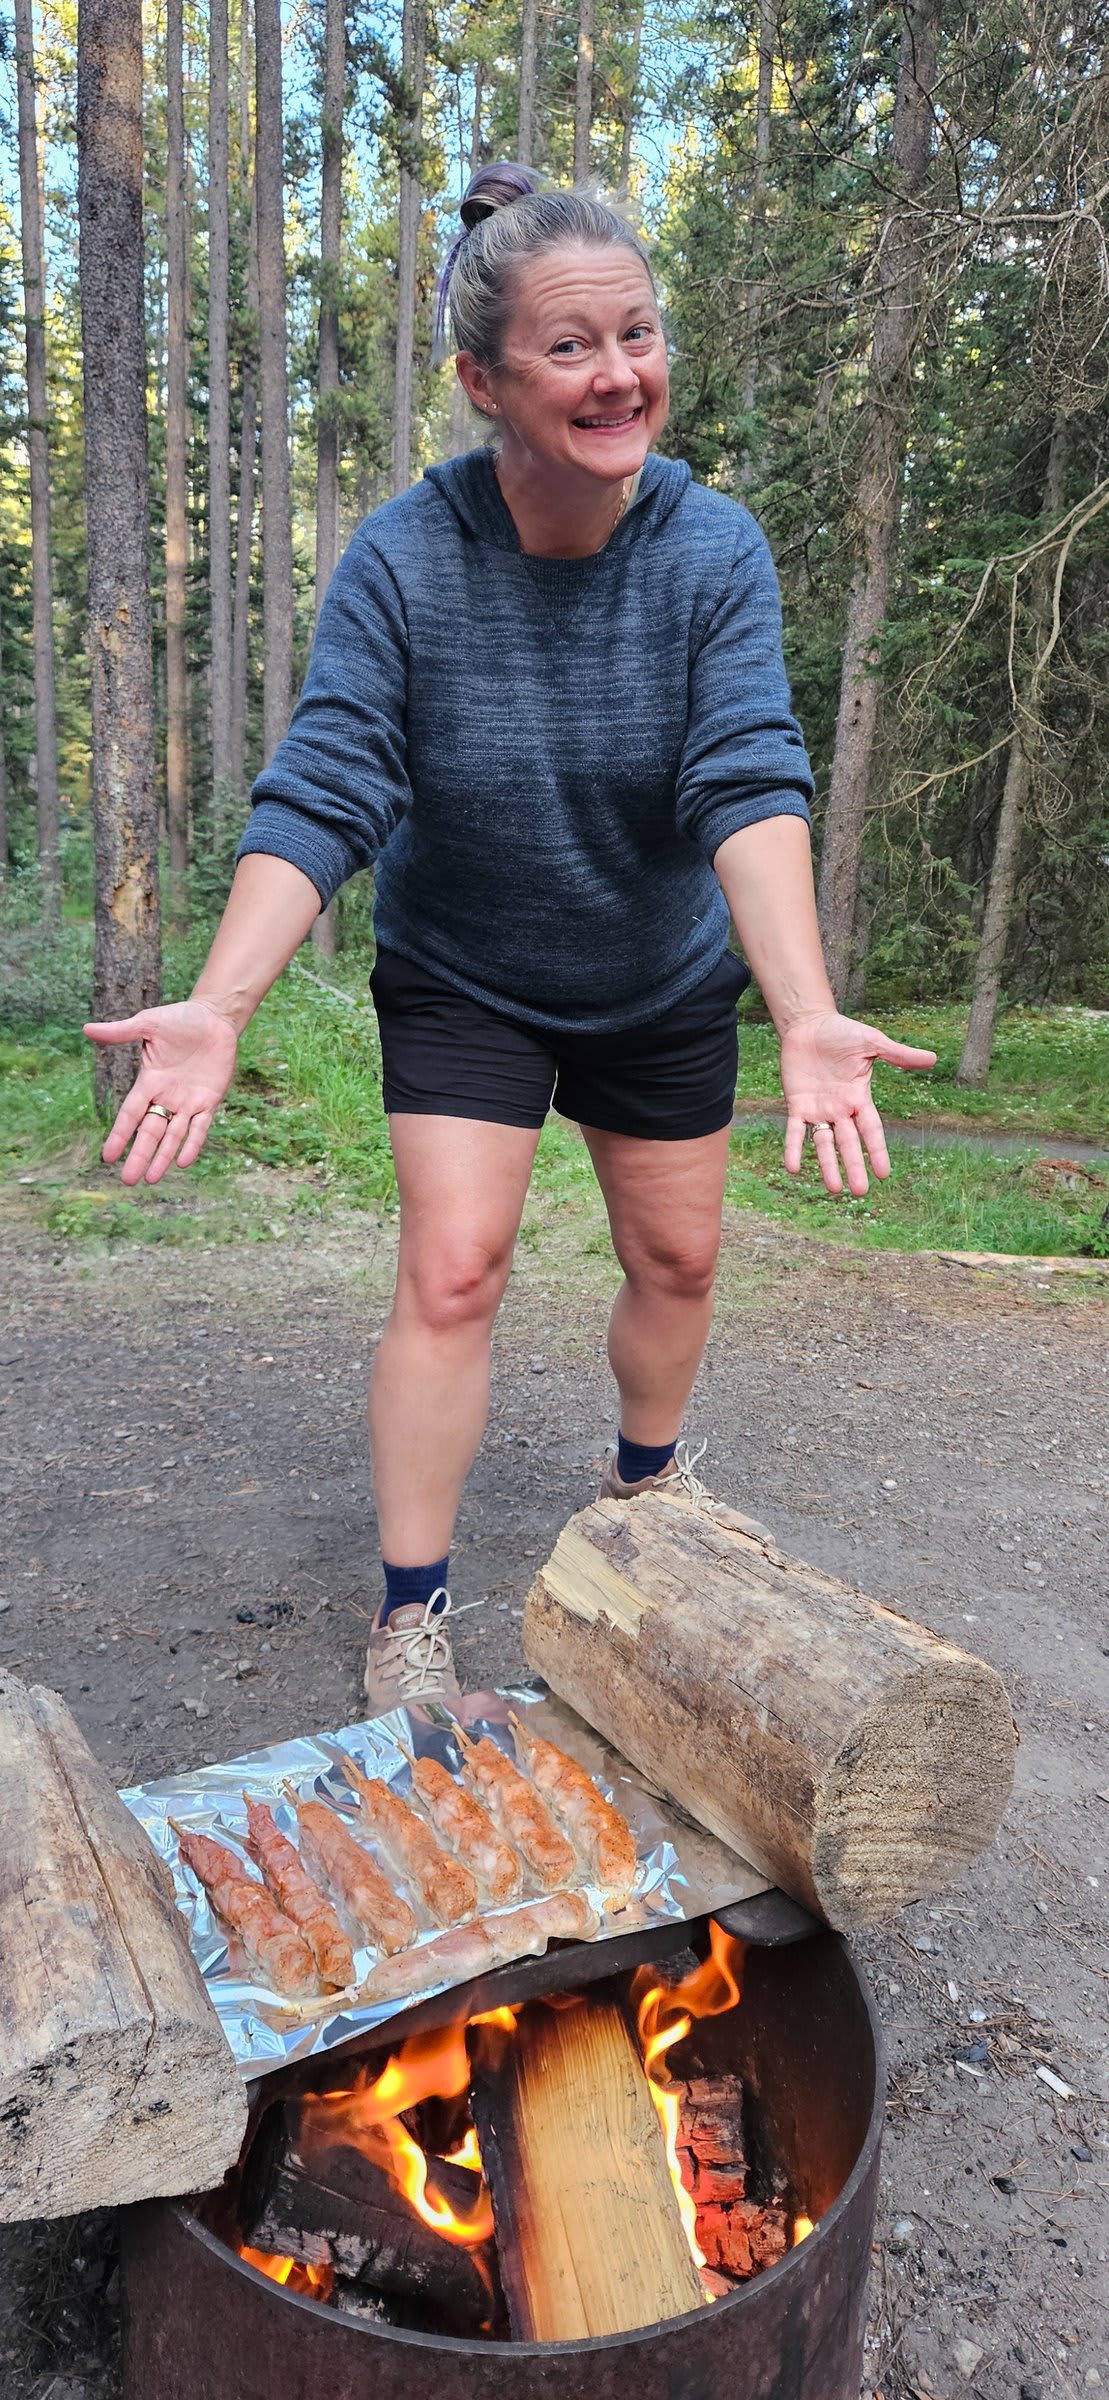
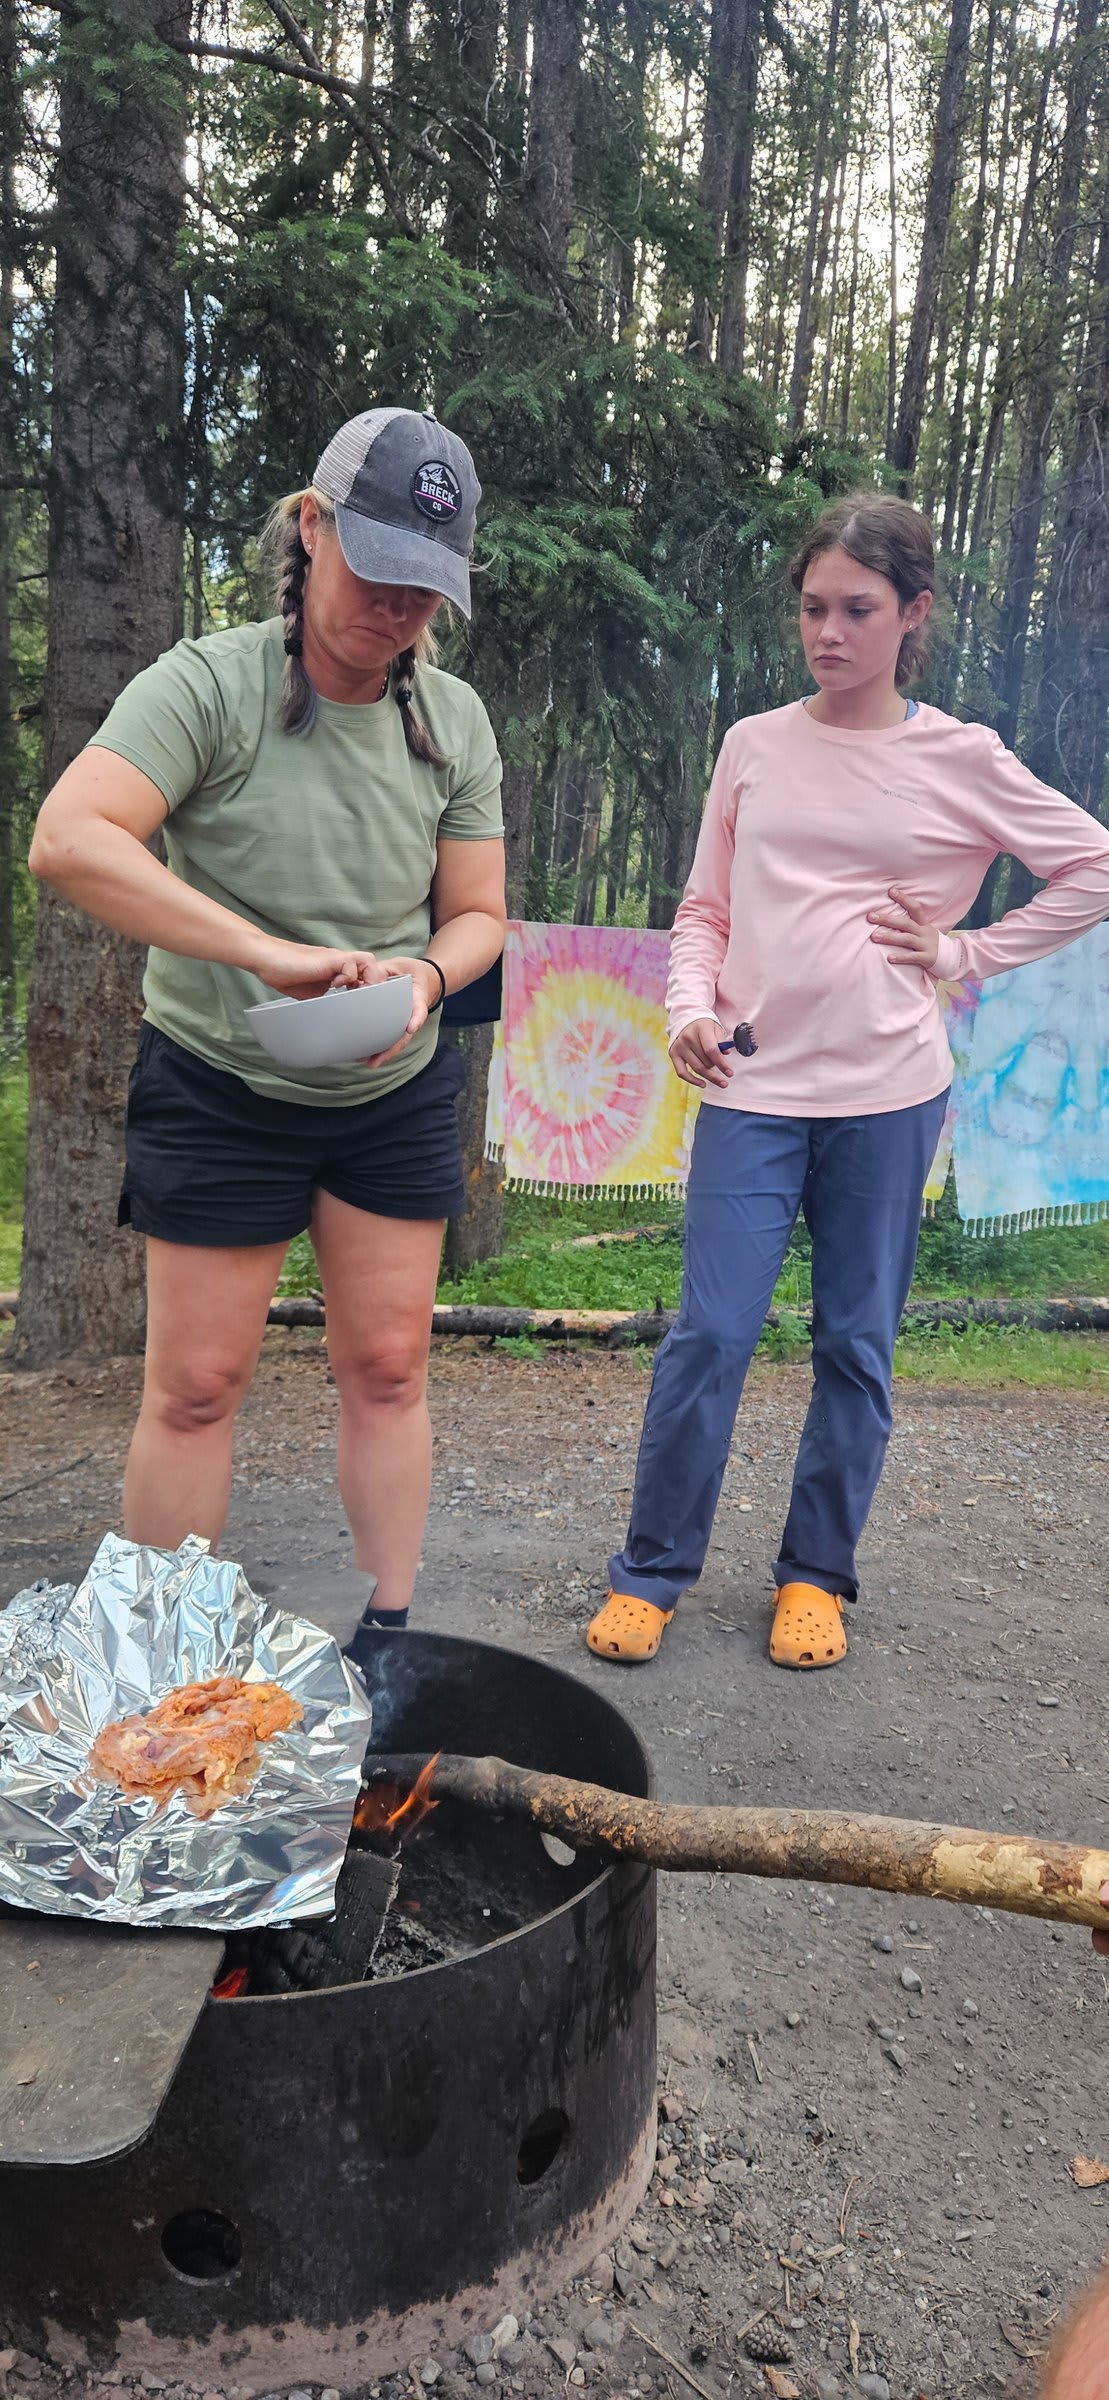
This has been a game-changer for us. Many grocery stores now sell pre-marinated meats ready for the grill—pork skewers, chicken kebabs, marinated chicken thighs. Yes, they cost more than plain meat, but they’re still far cheaper than restaurant meals, and the prep work is already done. We’ve had some incredible campfire dinners this way with virtually no effort.
Quesadillas
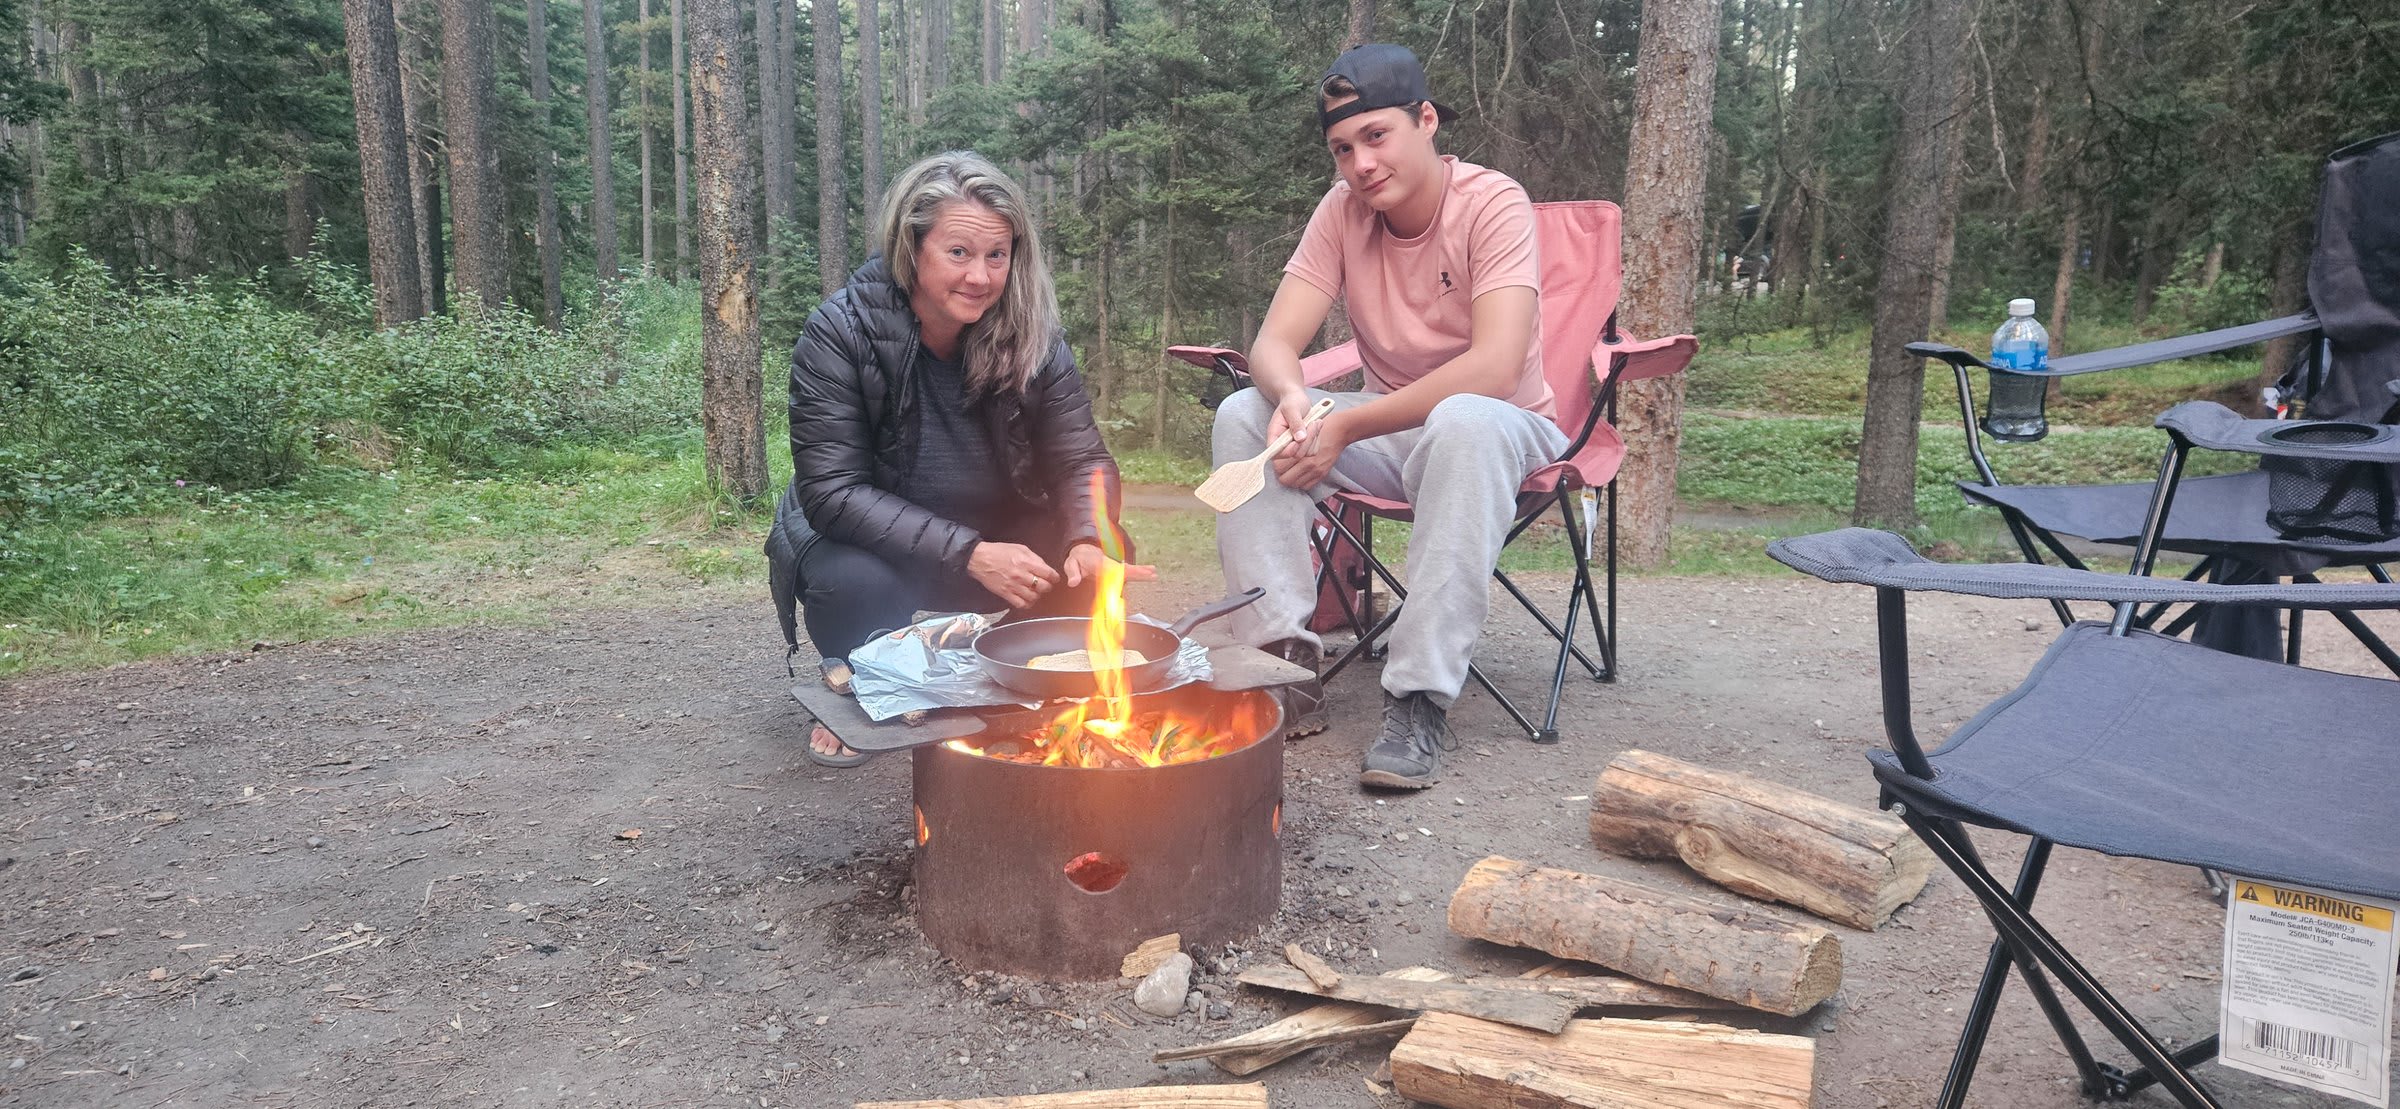
A camp skillet, some tortillas, cheese, and whatever fillings you have on hand. Quick, satisfying, and endlessly customizable. We usually make these on nights when we got back to camp late and want something fast.
Cooking Gear: From Ultralight to Full Kitchen
Your cooking apparatus depends entirely on what kind of adventure you’re on. Here’s what we use across different trip styles:
JetBoil Stove
Our JetBoil is twenty-two years old and still kicking. This thing has boiled water on mountain summits, forest floors, and everything in between. For backpacking or any situation where you need to pack light, it’s unbeatable. Fast, fuel-efficient, and incredibly portable. The integrated cup and burner system means no extra pots to carry.
Lia and me cooking with the JetBoil on a backcountry trip.
Bottle Top Burner
We picked up this bottle top burner on a recent trip, and it’s become a favorite for situations where we need something more stable than the JetBoil but don’t want to bring a full stove. It screws right onto a standard fuel canister and gives you a proper cooking surface for skillets and pots.
Portable Stove
For car camping, a proper portable stove opens up real cooking possibilities. Two burners mean you can have something simmering while you’re frying something else. Bacon and eggs, pasta with sauce, stir-fry—anything you’d make at home becomes possible.
The Campfire
When you’ve got a fire ring with a grate (and fire conditions allow), the campfire itself becomes your kitchen. Heavy-duty foil for packets, a cast iron skillet if you’ve got the space, and those mountain pie irons we mentioned. There’s no cooking method more satisfying than flame-cooked food.
The Spice Game
Don’t underestimate how much good seasoning transforms camp cooking. Eating the same basic ingredients for two weeks gets monotonous fast unless you’re switching up the flavors.
You’ve got two options here. First, you can mix your own spice blends before you leave. This lets you customize exactly what you want and portion out just enough for the trip. We’ll make a taco seasoning, an all-purpose grill blend, and something with a little heat.
Alternatively, we’ve found this pre-mixed seasoning to be our favorite all-purpose blend. One container has lasted us many, many trips, and it works on everything from eggs to grilled meat to campfire potatoes.
The Cooler: Your Most Important Car Camping Gear
If you’re car camping or van camping, your cooler is essentially your refrigerator for the duration of the trip. The quality of your cooler directly impacts your food options, your ice expenses, and your overall trip budget.
Cooler Basics
Keep these principles in mind:
-
The fuller the cooler, the better it stays cold. Ice has thermal mass—when your cooler is packed with food and ice, it maintains temperature much better than a half-empty cooler. We noticed that as we emptied our cooler toward the end of trips, we’d burn through ice much faster.
-
Keep it shut. Every time you open the cooler, warm air rushes in and cold air escapes. Open quickly, grab what you need, and seal it back up. It helps to organize your cooler so you know exactly where things are.
-
Keep it in the shade. Obvious but worth mentioning. A cooler in direct sun will burn through ice twice as fast.
Cooler Options
We’ve used coolers across the price spectrum, and the quality difference is real:
-
Budget Option: Igloo Cooler - When we flew to Canada and needed to buy a cooler on arrival, we grabbed a decent Igloo. It worked, but we were spending about $4 a day on ice to keep it cold. Over a two-week trip, that’s $56 just on ice.
-
Mid-Range Option: RTIC Cooler - Great performance at a reasonable price point. Significantly better ice retention than budget coolers.
-
Premium Option: Yeti Cooler - This is what we use when we’re driving from home. Yes, it’s expensive upfront, but the ice retention is incredible. A good Yeti can hold ice for days, which means fewer stops, less money spent on ice, and more reliable food storage.
The investment in a quality cooler pays for itself over time if you camp frequently. But if you’re flying somewhere and need to buy on arrival, don’t stress about getting the best—just factor the ice costs into your trip budget.
RV and Van Camping: The Best of Both Worlds
We’ve done our share of van and RV camping, and honestly? It’s a different experience entirely when it comes to food. Having a real refrigerator and a built-in stove changes everything. You can buy fresh vegetables that would wilt in a cooler. You can store leftovers safely. You can cook actual meals with multiple components.
If you have the opportunity to do a camper van trip, take it. The food flexibility alone makes the rental cost worth it, and you’ll save significant money on restaurants.
Flying vs. Driving: Planning for Your Departure Point
This seems like a small detail, but it impacts your planning significantly.
When we drive from home, we bring all the staples with us. Sandwich bags, foil, paper towels, garbage bags, our spice kit, our camping cookware—everything comes along. This saves money and means we can start camping immediately upon arrival.
When we fly to our destination, all of that has to be purchased there. We’ll often hit a Target or Walmart first thing after landing to stock up on basics before heading into the wild. Factor this into your first day’s schedule and your budget.
The Planning Trap (Learn From Our Mistakes)
Here’s where we get honest. On our most recent trip, we didn’t build a proper meal plan. We were lazy about it. Towns were easy to access, grocery stores were everywhere, and we figured we’d just plan as we went.
We paid for that laziness—literally. Without a meal plan, we couldn’t optimize our ingredients. We’d buy stuff for one meal and then half of it would go bad before we used it. We made multiple unnecessary grocery runs. We spent more than we should have.
The lesson? Even when access is easy, meal planning matters. It’s not just about saving money—it’s about reducing waste, reducing stress, and making sure you actually have what you need when you’re hungry after a long day on the trail.
A good meal plan doesn’t have to be complicated. Just sketch out each day: breakfast, lunch, dinner. Note what ingredients you need. Look for overlaps—if you’re having grilled chicken one night, maybe those chicken quesadillas happen the next night with the leftovers. If you’re buying a block of cheese, plan multiple meals that use it.
Tips & Info
The Staples Shopping List
Whether you’re packing from home or buying on arrival, make sure you have:
- Garbage bags (various sizes)
- Small sponge for dish duty
- Small bottle of dish soap
- Paper towels
- Sandwich bags (quart and gallon size)
- Heavy-duty aluminum foil
- Zip-top freezer bags
- Basic utensils if not bringing from home
- Can opener
- Sharp knife (carefully packed)
- Cutting board (a flexible plastic one packs flat)
- Fire starters or waterproof matches
- Coffee/tea setup (don’t forget this!)
Budget Breakdown
Following our three principles, here’s roughly what you can expect to spend on a two-week trip for two people:
- Groceries: $200-300
- One restaurant meal per day: $280-400
- Ice (if using a basic cooler): $40-60
- Total: $520-760
Compare that to eating every meal out ($1,500+) and the savings become very real very fast.
Food Safety Reminders
- When in doubt, throw it out. Food poisoning in the backcountry is no joke.
- Keep raw meat on the bottom of the cooler to prevent drips.
- In bear country, follow all food storage regulations—your cooler is not bear-proof.
- Check cooler temperatures if you can. Anything above 40°F is the danger zone for perishables.
Our Favorite Meal Planning Hack
Plan your meals in reverse chronological order. Use the most perishable items (fresh vegetables, deli meat, fresh fruit) in the first few days. Save the heartier, longer-lasting stuff (shelf-stable sausages, canned goods, dry goods) for the end of the trip. This way, nothing goes bad before you can eat it.
Food is one of those things that can quietly make or break an adventure. Do it right, and meals become highlights—moments of connection, comfort, and satisfaction that you’ll remember long after the trip ends. Do it wrong, and you’ll end up hangry on a mountain somewhere, wondering why you didn’t just plan a little better.
We’ve done both. We prefer the first option.
Happy adventuring, and happy eating. See you out there.